Defects, causes and fixes
| Defect | Likely cause | Fix |
|---|---|---|
| Pinholes | Dust on the screen, film or exposure glass. Mesh not degreased. Under-exposed stencil. Dust or bubbles in the ink | Degrease and dry screens in a clean cabinet. Clean the glass. Expose fully. Touch up with blockout. Let stirred ink rest |
| Sawtooth edges | Stencil too thin or too rough, so the edge follows the mesh threads. Mesh too coarse for the line. Lines running along the threads | Raise the EOM or add face coats. Use a finer mesh. Stretch the mesh at an angle. Check exposure |
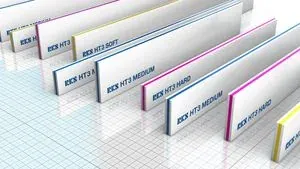
| Bleeding | Ink too thin. Too much squeegee pressure. Soft or rounded blade. Heavy flood. Rough stencil underside | Use less thinner. Reduce pressure. Fit a harder, sharp blade. Lighten the flood stroke. Improve the stencil |
| Smudging | Screen not lifting from the print because of low tension or low off-contact. Ink built up under the stencil. Sheet moving on the bed. Wet sheets touching | Check tension and raise the off-contact a little. Wipe the underside. Check vacuum. Dry fully before stacking |
| Moiré | Halftone dots clash with the mesh threads | Change the mesh count or mesh angle. Change the halftone angle. Check the film against the mesh before exposing |
| Uneven deposit | Worn or nicked squeegee. Pressure unequal along the blade. Uneven tension. Off-contact unequal. Ink thickening during the run | Sharpen or change the blade. Level the squeegee. Measure tension. Reset off-contact at four corners. Add fresh ink little and often |
Find where the defect comes from
Look at ten prints in a row. A defect in the same place on every sheet is in the screen or stencil. A defect that moves about is dust, ink or the substrate. A defect that gets worse during the run points to ink drying in the mesh, ink building up under the stencil or a screen losing tension.
Check the stencil with a magnifier before it goes to press. Many pinholes and sawtooth edges can be seen there, and remaking a screen costs less than a batch of rejects.
Screen room habits that prevent defects
- Degrease every screen and dry it in a closed, dust-free dryer.
- Measure tension after each reclaim and keep a lower limit.
- Coat to a set recipe and check stencil thickness.
- Run an exposure step test for each mesh and emulsion.
- Keep the coating and exposure area clean and at steady humidity.
Press habits that prevent defects
Moiré is worth a test before production. A common guide is a mesh count at least four times the halftone ruling. The reliable check is to lay the film on the stretched mesh and turn it until the pattern disappears.
- Use the lowest squeegee pressure that prints the full image.
- Set off-contact equal at all four corners.
- Sharpen blades on a schedule.
- Follow the ink maker's data sheet for thinner, mesh and drying.
- Clean the substrate and control static on plastic films.
Machines Sunstar supplies that address these defects
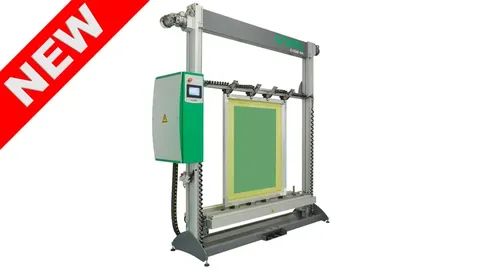
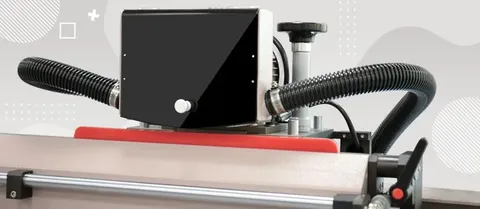
Sunstar Graphics supplies machines for each of these variables in India. Grünig stretching machines set the tension. Grünig G-COAT coating machines apply emulsion to a repeatable thickness, and Grünig G-WASH machines wash and develop screens. SignTronic computer-to-screen (CTS) imaging removes film and the dust that comes with it. RKS and Kuroki squeegees and ATMA squeegee sharpeners keep the blade edge consistent. ATMA flatbed (flat bed) screen printers use a motor-driven vertical screen lift and a servo print stroke.
Sunstar installs the machines, trains operators and services them from Mumbai, across India. Send an enquiry describing the defect, your ink and your material for machine options and Indian pricing.