The layers in a membrane switch
A membrane switch, also called a membrane keypad, is a stack of thin films. From the front to the back:
- Graphic overlay: polyester or polycarbonate film that carries the colours, legends and windows
- Overlay adhesive: bonds the overlay to the circuit
- Top circuit: polyester film with printed contact pads. Some designs use metal domes here to give a click
- Spacer: an adhesive layer with a hole at each key, which keeps the contacts apart until the key is pressed
- Bottom circuit: polyester film with printed tracks, contacts and a tail that plugs into a connector
- Rear adhesive: fixes the switch to the product
Step 1: printing the graphic overlay
The overlay is printed in reverse on the back of clear film. The film then protects the ink from wear, chemicals and cleaning. This is called second-surface printing.
Legends and fine detail usually go down first, then the background colours, then white or a blocking layer behind them so that the colours look solid. Clear or tinted windows are left open for displays and LEDs.
An overlay typically takes four to eight passes. Each pass is one colour, dried or UV cured before the next. A texture or hard coat may be printed on the front, on selected areas.
Step 2: printing the circuit
The circuit is printed on heat-stabilised polyester film, which holds its size in the dryer.
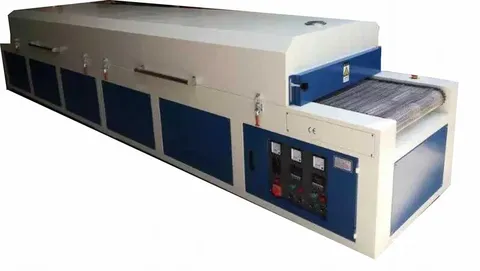
- Silver conductive ink forms the tracks and contact pads. It is dried in an IR hot-air tunnel. Drying time and temperature affect the resistance, so follow the ink maker's data sheet
- Carbon ink is printed over the contact pads and the tail fingers. It protects the silver from wear
- Dielectric ink insulates the tracks and lets one track cross over another. It is usually UV cured and printed in two passes, so that a pinhole in one pass is covered by the next
- The printed sheet is tested for resistance and for shorts before it moves on
Step 3: cutting and assembly
The overlay, spacer and circuit layers are cut to shape by die or by laser, with their holes, windows and tail. Keys may be embossed. The layers are then laminated in register with pressure-sensitive adhesive. Domes, LEDs and connectors are added, and every finished switch is tested electrically.
What the printing press has to do
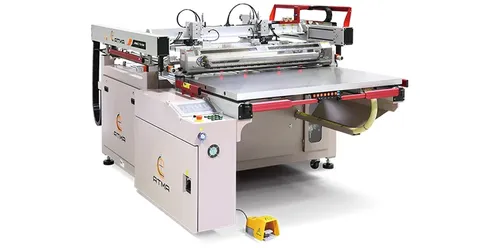
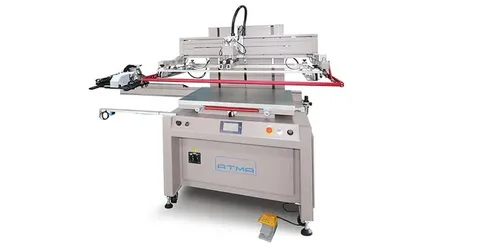
Membrane switches are printed on flatbed presses with a vacuum bed, a stable screen lift and a controlled squeegee stroke. The screen matters as much: even tension, a controlled emulsion thickness and a sharp image. The press has to:
- Hold register between colours, between circuit layers, and between the overlay keys and the contacts beneath them
- Lay down the same ink deposit on every sheet, because the resistance of a silver track follows its thickness
- Print clean lines with no breaks in a track and no bridges between tracks
- Deliver sheets to a dryer that matches the ink
What Sunstar supplies
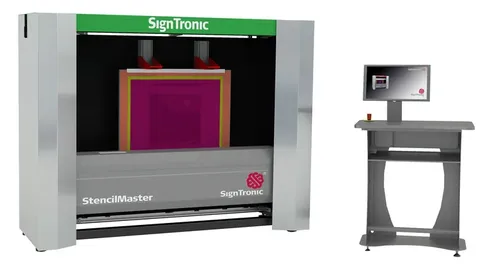
Sunstar Graphics supplies the printing line for membrane switches and graphic overlays in India. ATMA flatbeds include the fully automatic ATMACE 67/G(6), the semi-automatic AT-80P/SV with vacuum take-off and the larger AT-120P. SignTronic computer-to-screen systems and Grünig stretching and coating machines make the screens. Luen Cheong IR tunnels and UV curing machines dry and cure the inks. Sunstar supplies RKS and Kuroki squeegees.
Sunstar is the exclusive distributor in India for these brands and installs, trains and services from Mumbai. Send an enquiry with your sheet size, number of layers and volume. Sunstar replies within one working day, and you can ask for machine options and Indian pricing.