
Process · Stage 01 of 03
Pre-press: making the screen
Print quality starts with the screen. Mesh is stretched to tension, coated with emulsion, imaged, washed out and dried. Each step has a machine.
The machines in this stage, working
Animated models, one cycle each.
Illustrations generated with AI to show each step. They are not photographs of a specific machine.
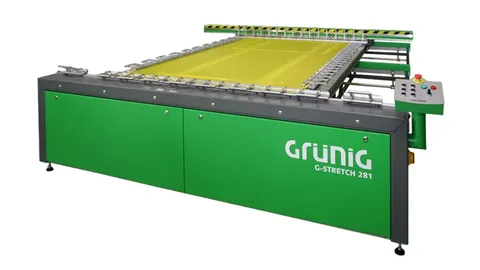
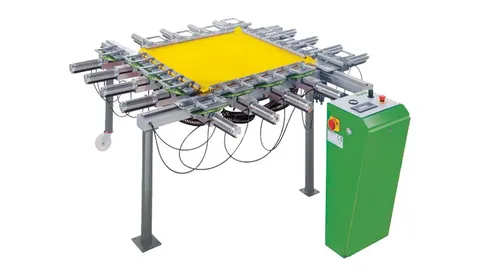
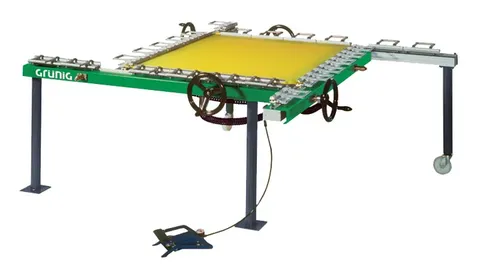
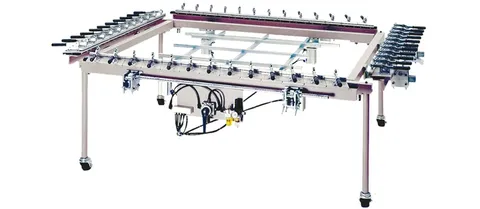
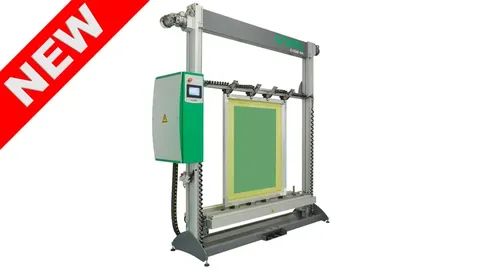
01 · Stretch
Mesh is pulled to a set tension and glued to the frame.
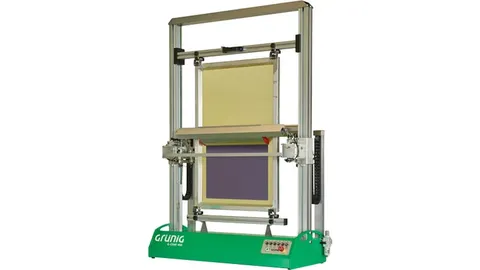
02 · Coat
Emulsion is applied to an exact thickness.
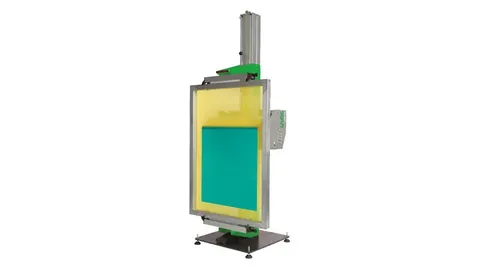
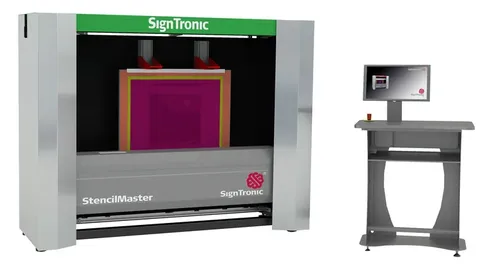
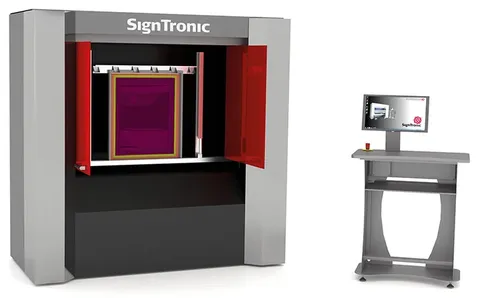
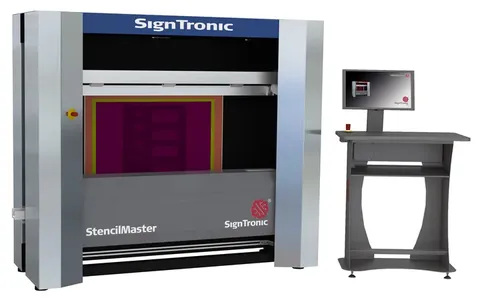
03 · Image
Artwork is written onto the emulsion with UV light.
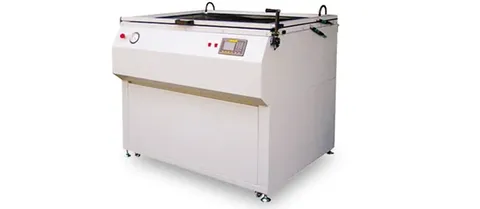
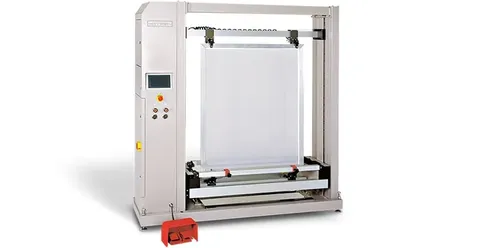
04 · Develop and wash
Unexposed emulsion is washed out to open the stencil.
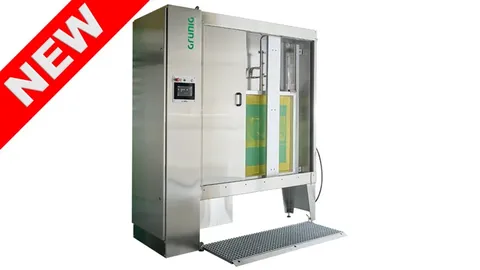
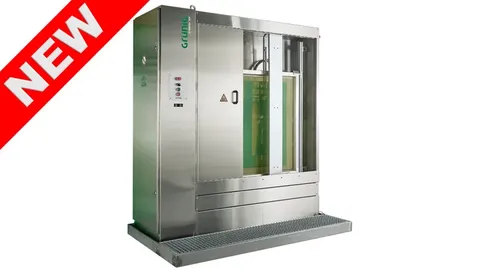
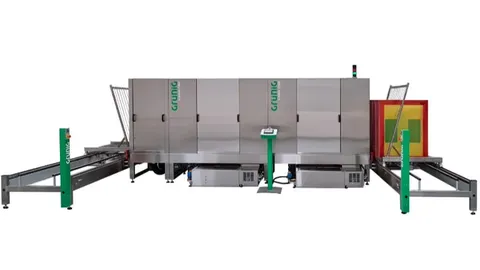
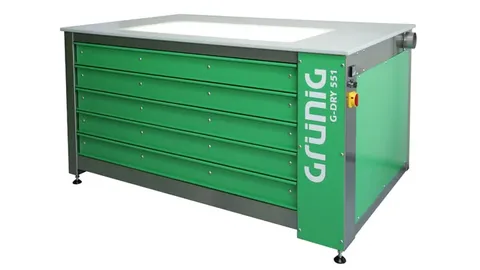
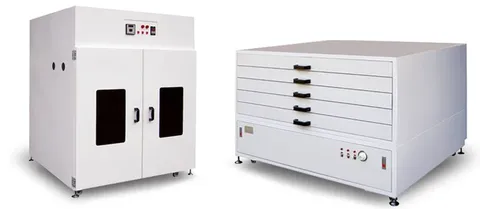
05 · Dry
The stencil is dried before it goes to press.
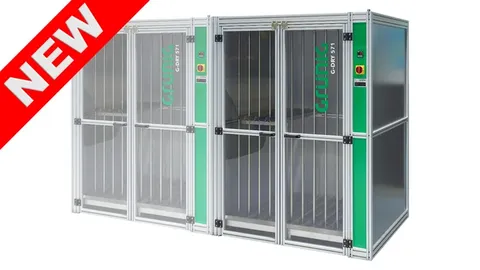
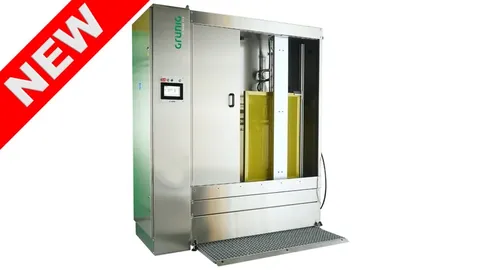
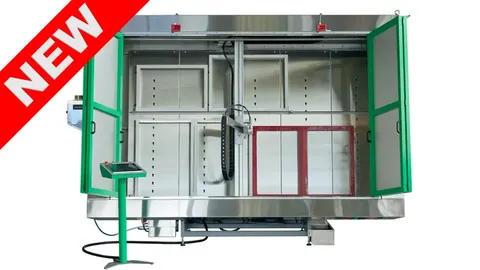
06 · Reclaim
Used screens are decoated and cleaned for the next job.
Category pages for this stage: Pre-press and screen making. Guides: all buying and process guides.
From Sunstar Academy
Real footage and short lessons from Sunstar's own channel.
All videos →
ATMA A211 Pneumatic Screen Stretching System
Discover the ATMA A211 Pneumatic Screen Stretching System, designed for consistent screen tension, faster setup, and reliable screen preparation for professional screen…
Questions buyers ask
Why automate screen making?
Tension, coating thickness and washout decide print quality. Automatic machines make every screen the same.
Does Sunstar supply the full screen room?
Yes. Stretching, coating, imaging, washing, drying and reclaiming, specified together.
What does computer-to-screen replace?
Film positives and the vacuum exposure frame. The artwork goes from the file to the screen.
Is CTS suitable for fine lines?
Yes. Direct imaging removes film distortion, which helps fine lines and halftones.
Inquiry
Tell Sunstar what you print.
An engineer replies within one working day with machine options and Indian pricing. Delivered and installed anywhere in India.